
Poly Loot Armor and Gear Tier List
Named Sep 2026 sets plus defensive slots—re-test after every patch.
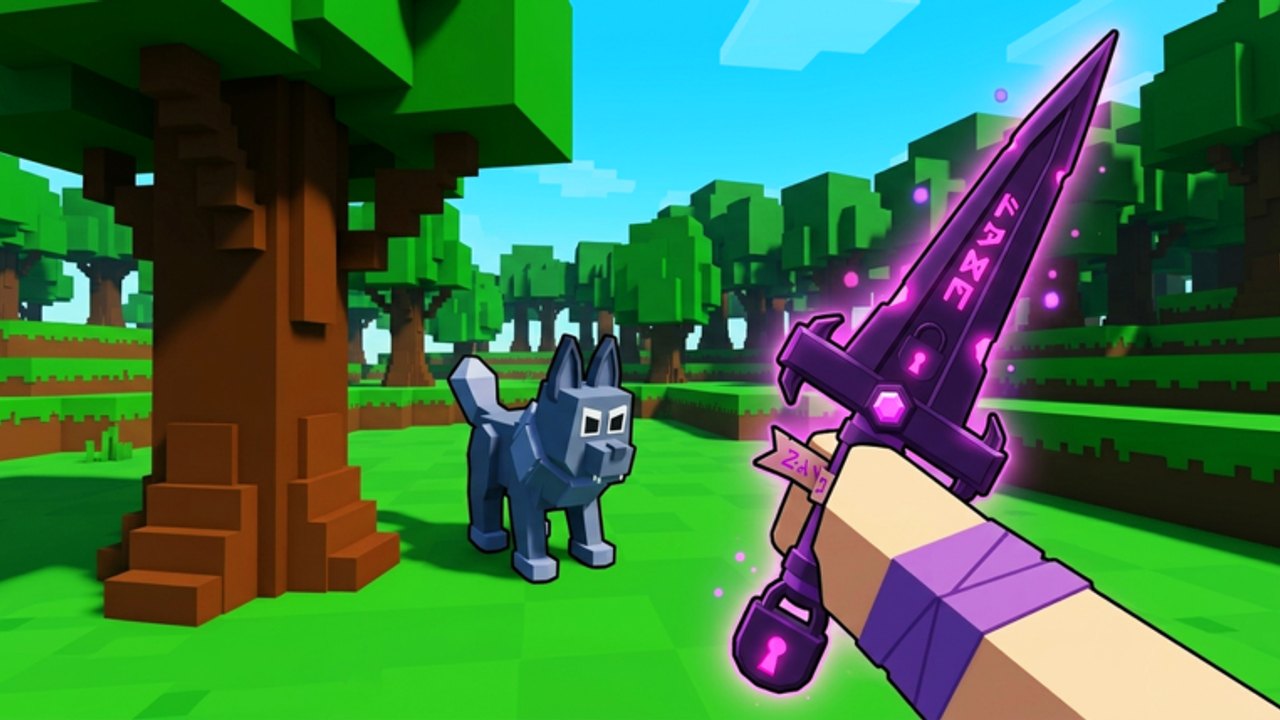
Weapons get the highlight reels, but armor and gear decide whether your Poly Loot farm loop survives contact with reality. This tier list ranks defensive pieces, set-style armor collections, and accessories or stat items by survivability, uptime, and how well they support farming speed. As with the Weapon Tier List, placements are community-style guidance for a live Roblox Action RPG—re-test after updates, especially during the Jungle theme of September 2026.
Poly Loot’s published loop is defeat monsters, collect loot, equip better gear, level up, and explore. “Better gear” includes not dying. Servers hold eight players on Desktop, Mobile, and Console, so contested pulls and surprise aggro are normal. Verified names from Update 1.5 crafts and the Jungle update appear below as examples you can actually farm.
Tier summary
| Tier | Gear categories and verified examples |
|---|---|
| S | Cobra armor when it erases your death cause; Crystal Armor from mining crafts; accessories that massively stabilize long farms |
| A | Jungle and Diamond sets on their natural routes; solid mixed rares; reliable HP/mitigation accessories |
| B | Situational resistances; partial sets; mobility pieces that help skilled players more than beginners |
| C | Early filler armor after better drops exist; fashion-first pieces with weak stats; awkward accessories |
| D | Duplicate scraps; obsolete commons kept out of habit |
Index set bonuses (progression context)
Completing Index collections is permanent power beside the piece you wear in the fight. Jungle-era notes highlight:
- Diamond Index → +12% Defense
- Jungle Index → +15% Defense
- Cobra Index → +20% Health
Bank spare Diamond, Jungle, and Cobra pieces for Index progress even when a mixed rare wins the live equip slot. Crystal crafts from mining and crafting also feed Index goals—equip winners, store the rest. Index bonuses do not replace timed clear tests; they are background progression that makes every later farm safer.
S-tier defensive investments
Cobra armor. Boss-window Cobra pieces from Triple Head Cobra often solve Jungle-era deaths and pair with the Cobra Index health bonus. Prioritize them when your timer deaths cluster on Cobra or dense foliage packs.
Crystal Armor. The Update 1.5 craft is a long-term defensive pillar. When it clearly beats your worn chest or full set in survivability tests, invest upgrade currency after one or two verification clears—see mining and crafting.
Problem-solving armor in general. The best early S move is whatever stops the thing killing you—burst, chip damage, or being locked down. That might be a Cobra piece today and a Crystal slot tomorrow.
Stabilizing accessories / stat items. Items that keep you in the fight for full loot loops belong here even if they do not raise tooltip armor. Long farms described in How to Farm Loot depend on uptime.
A-tier workhorses
Jungle armor sets. During the current theme, Jungle defense is often A (or personal S) in leafy zones and merely B elsewhere. Confirm with the Jungle World Guide and Jungle update notes. Completing the Jungle Index (+15% Defense) is strong progression context even if you mix pieces for the live loadout.
Diamond armor sets. Diamond defense is a clean mid-game ladder with a +12% Defense Index payoff. Wear the strongest Diamond pieces until Crystal or Cobra strictly wins your death-rate tests.
Mixed rare armor. Strong individual pieces without a full set bonus still deserve upgrades—do not force a weak fourth piece just to “finish” a set.
Balanced mitigation accessories. Great defaults for players following Best Early Game Build.
B-tier situational gear
Narrow resistances. Equip for the camp that needs them; swap after.
Mobility gear. Excellent for kite archetypes and advanced pull routes in Advanced Strategies, less automatic for brand-new accounts on Getting Started.
Partial Diamond, Jungle, or Cobra sets. Wear the strong pieces; bank the rest for Index; do not force weak set completions over a better mixed rare.
C-tier and D-tier
C. Starter armor you outgrew; flashy Jungle fashion with mediocre mitigation; accessories that look specialized but never proc on your route.
D. Bag clutter. Clear it so real upgrades and Index pieces have room—track cleanup on the Tools Hub.
How gear tiers interact with weapons
A B-tier weapon with S-tier survivability often farms faster than an S weapon on a glass cannon corpse. After each major loot haul:
- Check whether deaths or clear speed is the bottleneck.
- If deaths, lean this page (Cobra, Crystal Armor, Index health/defense). If speed, lean Weapon Tier List.
- Spend currency accordingly.
- Re-time a standard pack.
- Log results beside XP goals from How to Level Up Fast.
Return to the Tier List Hub whenever you need ranking philosophy in one place.
Early vs Jungle gear priorities
Early. Fill empty slots, then improve the slot that fails first in combat. Redeem Codes Hub gifts before crafting a perfect plan—weekend codes can drop gear-relevant rewards with roughly week-long windows. Push Diamond pieces and ores toward Crystal Armor when materials allow.
Jungle. Favor readability and bulk while learning foliage-heavy camps—Jungle and Cobra sets shine here. Once clear speed stabilizes, you can trade some defense for damage. Platform comfort still matters; review Controls if camera issues cause “fake” gear problems.
Soft skills that act like gear
Pull size discipline, camera height, and loot timing prevent more deaths than a minor accessory swap. Pair this list with Beginner Tips. Gear ranks assume you are not standing still on a loot pile while a second pack arrives.
Meta honesty and safety
Balance changes can reshuffle mitigation values overnight. Crystal Armor or Cobra pieces that feel S today may need a re-test after the next hotfix. When the Updates Hub mentions combat or equipment, re-test. Do not download “auto gear roll” clients from unverified sources—see Scripts Hub for risk context.
Related links
- Tier List Hub
- Weapon Tier List
- Update 1.5 Guide
- Jungle Update Guide
- Mining and Crafting
- Triple Head Cobra Boss
- Best Early Game Build
- How to Farm Loot
- Jungle World Guide
- Guides Hub
- Players Hub
Equip gear that buys mistakes. Mistakes happen in eight-player Action RPG lobbies. Rank defenses with the same seriousness you rank blades, and your loot per hour will rise even when the weapon highlight stays the same.
Frequently Asked Questions
Quick answers to the most common Poly Loot questions.
Should I upgrade armor before weapons?
If you are dying often, yes. If clears are safe but slow, prioritize weapons. Fix the bottleneck your timers reveal.
Where do Crystal Armor and Cobra sets rank?
Both are strong S-tier candidates when they cut your real death rate. Craft Crystal Armor via mining; farm Cobra pieces from Triple Head Cobra.
What do Diamond, Jungle, and Cobra Index sets give?
Verified Jungle-era bonuses: Diamond +12% Defense, Jungle +15% Defense, and Cobra +20% Health as permanent Index rewards.
Do full armor sets always rank higher?
Only when the set bonus beats strong mixed rares. Partial sets with great pieces can outrank forced completions—bank extras for Index.
Are accessories worth tiering?
Yes. Accessories and stat items that stabilize long farms can outvalue minor armor swaps.
How often should I revisit this gear list?
After major updates, after entering Jungle routes, and whenever your death rate spikes despite familiar packs.
Where can I checklist missing gear slots?
Use the Tools Hub progress checklist for armor gaps, Index pieces, upgrade priorities, and unlock reminders.